For plugin & theme development and testing, it can be useful to have different versions of WordPress available on your system. In this post, I’ll show how to achieve this on Windows.
Set up the file structure
I’m using WampServer that comes with phpMyAdmin. I’m planning to install WordPress 3.6 and 3.7 on my system. My directory structure looks like this:
C:\wamp\www
   +-- wp-admin
   +-- wp-content
   +-- wp-includes
   +-- wordpress-svn
       +-- src
           +-- wp-admin
           +-- wp-content
           +-- wp-includes
       +-- tests
       +-- tools
   +-- wordpress-3.6
   +-- wordpress-3.7
C:\wamp\www is the document root directory. It has the latest version of WordPress installed, and the wp-admin, wp-content and wp-includes directories directly under it correspond to this install (currently 3.8).
The wordpress-svn directory is where I keep the latest development build of WordPress for contributing and checking out the latest developments. Under it, the src directory is where this actual, cutting-edge build actually lives, and that’s why you can see the wp-admin, wp-content and wp-includes directories there as well.
So to start installing old WordPress versions, I just created the empty directories wordpress-3.6 and wordpress-3.7 under my www directory.
Get the files
To get the files, a handy way is to use the SVN repository. I’ve installed TortoiseSVN to do this easily. If you have it installed, follow these steps:
- Right click on the directory where you want to install and choose
SVN Checkout...
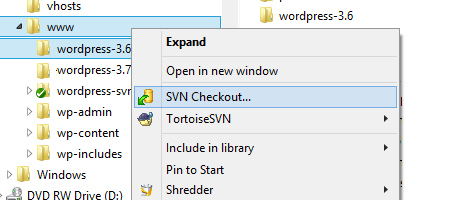
-
Set the repository URL. For example, for WordPress 3.6.1, use
http://core.svn.wordpress.org/tags/3.6.1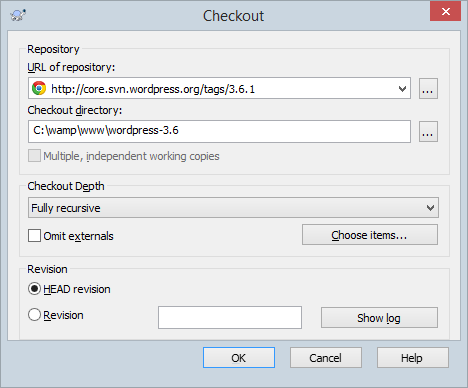
-
Click OK and watch the files getting downloaded from the repository to your chosen directory.
Set up databases
We’re going to set up a database for each version of WordPress. That way the different installs won’t overwrite each other’s data and your mySQL side keeps nice and clean.
- Log in to phpMyAdmin. Usually this is done by navigating to
http://localhost/phpmyadmin. With WampServer, the user isrootand the password is empty. -
Go to the “Databases” tab.

-
Create a new database. Recommended collation
utf8_general_ci.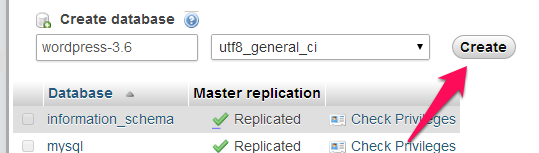
-
From the left-side menu, choose the created database by clicking its name. Go to the “Privileges” tab.
-
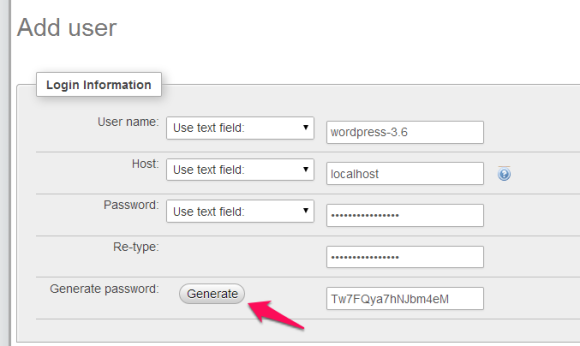
Click “Add user”.

-
Fill in the username you want. I recommend different usernames for different WP installations, this is an extra layer of security since this way, the different installations can’t touch each others’ tables. You can use the “Generate” button to create a random password. Take a note of what the password is!
Set up WordPress
Once the databases and their users are created, the fastest way to get your new old WordPress installations working is by using their built-in installation mechanism.
So, supposing you installed WordPress 3.6 in the directory wordpress-3.6 under your public html base directory, navigate to http://localhost/wordpress-3.6.
You’re greeted with a page informing you about the missing wp-config.php file. Go ahead and start the configuration process. Fill in the database name, username, password, database host (localhost) and the table prefix. I use a different table prefix for each version of WordPress such as wp_36 for WordPress 3.6.

If everything was correct, you get the “All right, sparky!” page that tells you to “Run the install”. Once you’ve done that, you’ve got a brand-new old version of WordPress installed.


[…] I wrote in an earlier post about how to install different versions of WordPress on your system. […]